
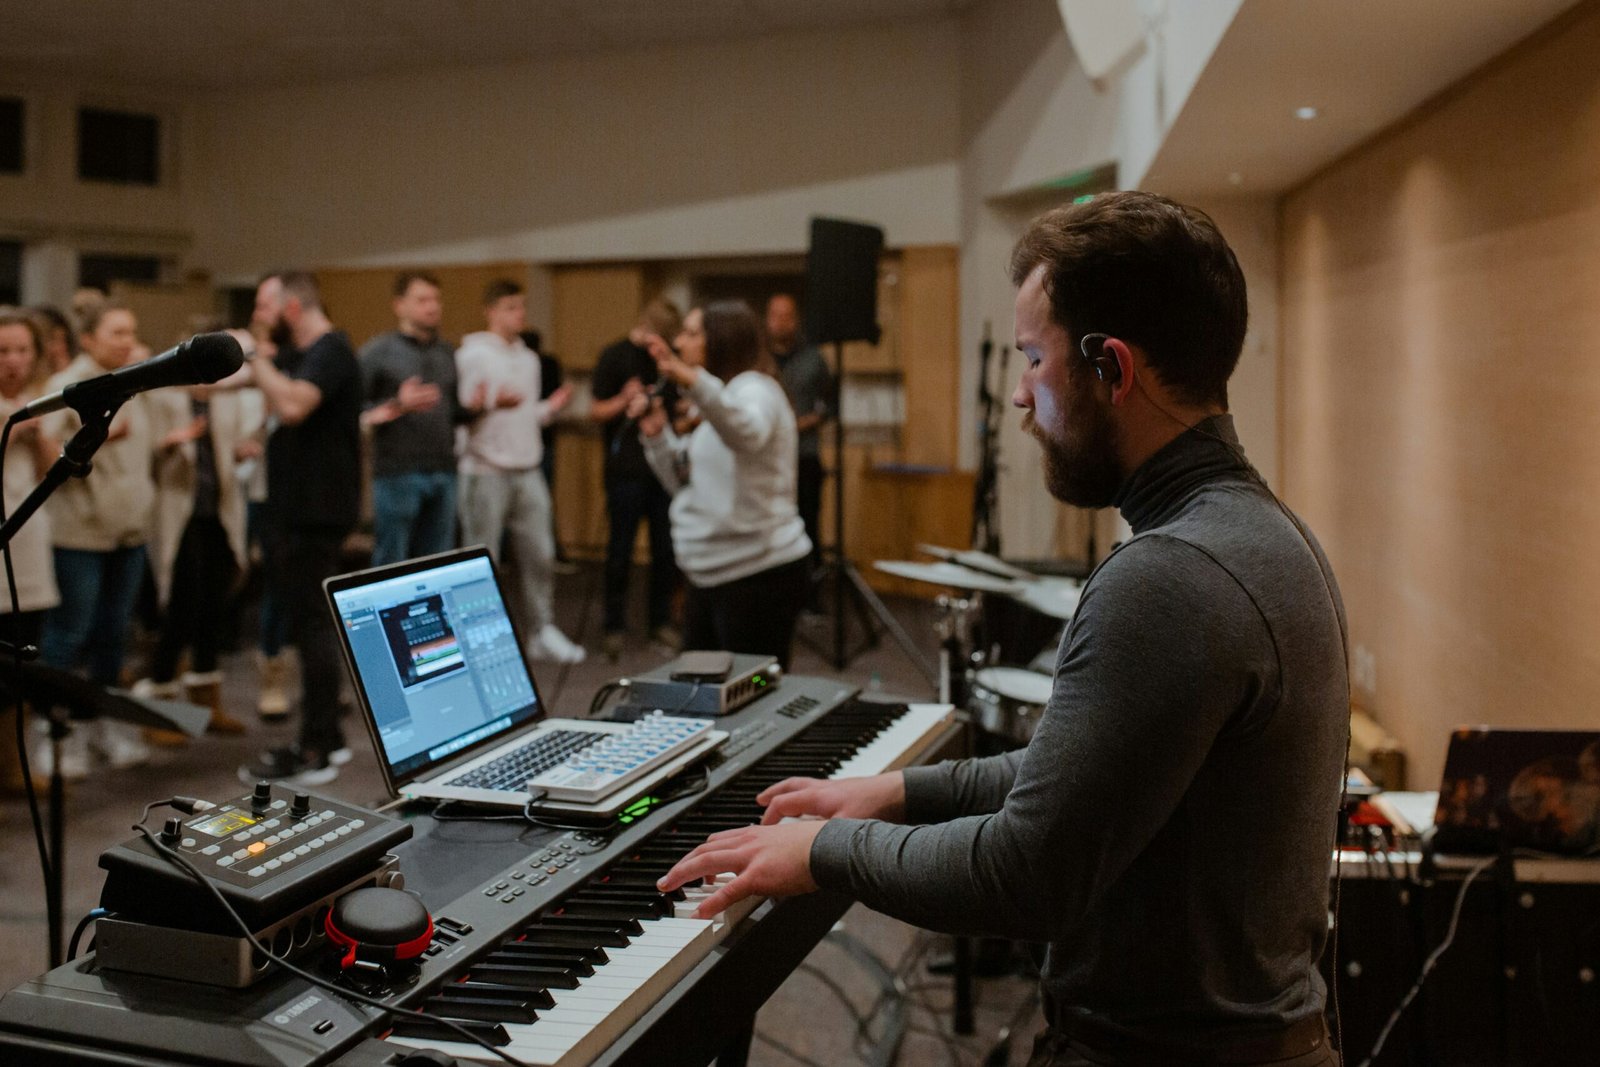
Capturing your piano performance at home can be both rewarding and challenging. Whether you’re a budding pianist or a seasoned performer, creating a high-quality recording requires the right equipment, techniques, and preparation. Here’s a detailed guide to help you record your piano performance like a pro.
1. Choose the Right Equipment
Investing in quality recording gear is essential for capturing the rich, nuanced sound of your piano. Here’s what you’ll need:
- Microphones:
- Condenser Microphones are ideal for pianos as they capture a wide frequency range.
- Use two microphones for stereo recording to create a fuller, more immersive sound.
- Audio Interface: Converts analog signals from the microphone into digital audio for your computer.
- Digital Audio Workstation (DAW): Software like Audacity, GarageBand, or Logic Pro for recording and editing.
- Headphones: High-quality headphones help monitor the sound during recording and editing.
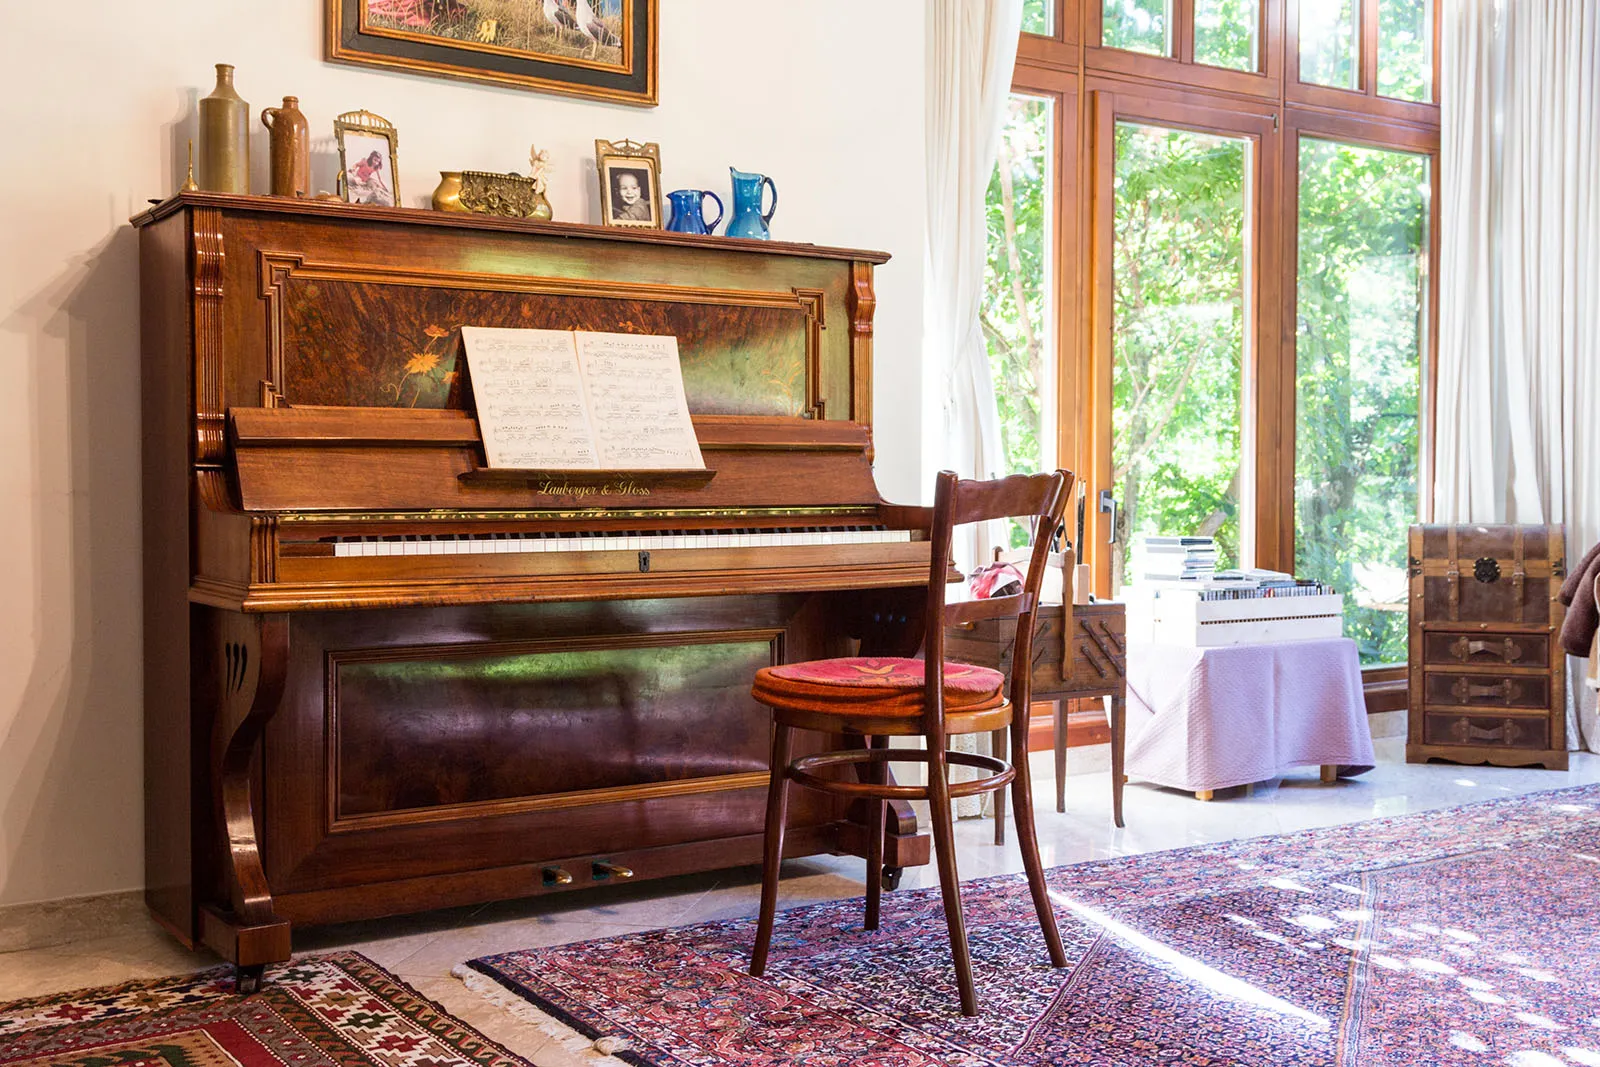
2. Prepare Your Piano and Environment
- Tune Your Piano: Ensure your piano is in tune to deliver the best sound quality.
- Optimize the Room:
- Choose a quiet room with minimal background noise.
- Use rugs, curtains, or foam panels to reduce echo and improve acoustics.
- Position the Piano: If using an upright piano, open the top lid for better sound projection. For a grand piano, consider raising the lid and positioning the microphones accordingly.
3. Microphone Placement Tips
Proper microphone placement significantly impacts the recording quality:
- For Upright Pianos:
- Place one microphone above the strings and the other at the back to capture a balanced sound.
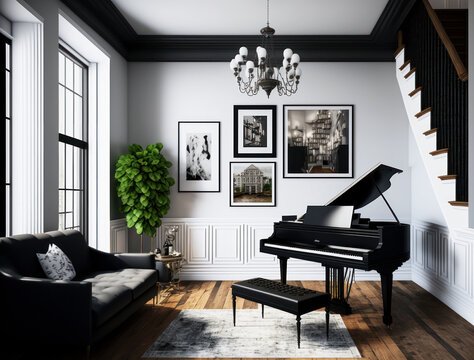
- For Grand Pianos:
- Position one microphone over the bass strings and the other over the treble strings, about 12–18 inches away.
- Avoid Vibrations: Use microphone stands and isolate them from surfaces to prevent vibrations from affecting the recording.
4. Record with Precision
- Set Levels:
- Adjust input levels to avoid distortion. Aim for peaks around -6dB.
- Test First: Record a short sample and listen to ensure the sound quality and levels are balanced.
- Minimize Noise: Turn off fans, phones, and other devices that could interfere with the recording.
5. Edit and Enhance Your Recording
Once your performance is recorded, polish it with editing:
- Noise Reduction: Remove background hums or clicks.
- Equalization (EQ): Adjust frequencies to enhance clarity and balance.
- Reverb: Add subtle reverb for a natural, concert-like ambiance.
- Compression: Balance dynamics for a more consistent sound.
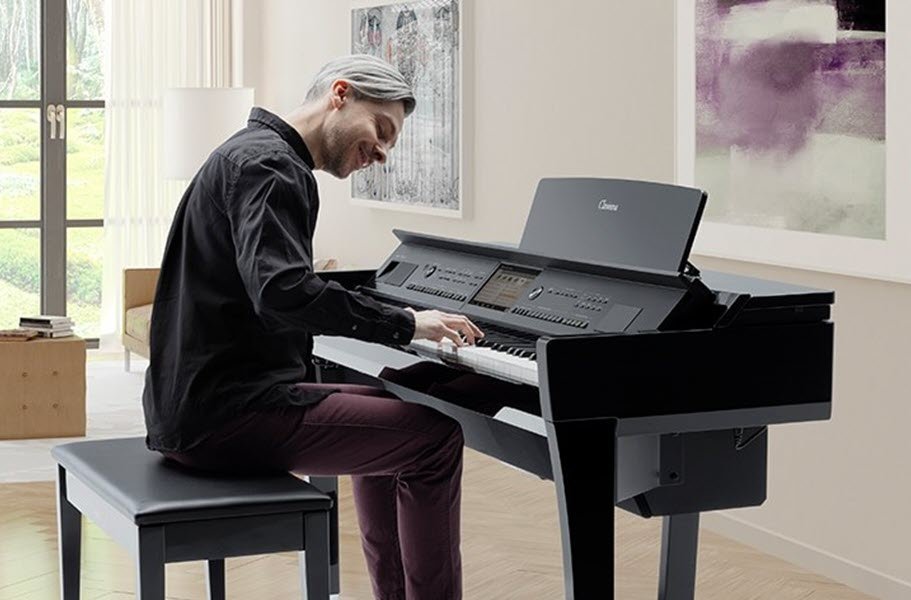
6. Share Your Performance
Your recorded performance deserves to be heard! Here’s how to share it:
- File Format: Export your recording in high-quality formats like WAV or FLAC.
- Upload Platforms: Share on platforms like YouTube, SoundCloud, or Instagram for broader reach.
- Backup: Save your files in multiple locations to prevent loss.
Conclusion
Recording your piano performance at home is a gratifying way to showcase your talent and creativity. By following these steps, you can achieve professional-grade results with just a little preparation and the right tools. Take your time experimenting with techniques, and soon you’ll create recordings that truly capture the essence of your music.


Leave a Reply